We’re making a blog (IDE agnostic edition)
My partner, Val, has been asking to making a fancy Quarto blog. Today, we’re going through this step-by-step together. There’s a few different ways to do this, and the RStudio IDE has UI to make this a pretty slick process. However, I don’t spend much time in RStudio, so here’s my IDE agnostic workflow. You’ll need:
- A GitHub account
- To install Quarto here if you haven’t yet
- Access to the command line (eg, “Terminal” on a Mac)
Step 1: Make the repository
Go to github.com and click on your profile image in the top right corner. In the dropdown, click on Your repositories and then click New to create a new repository.
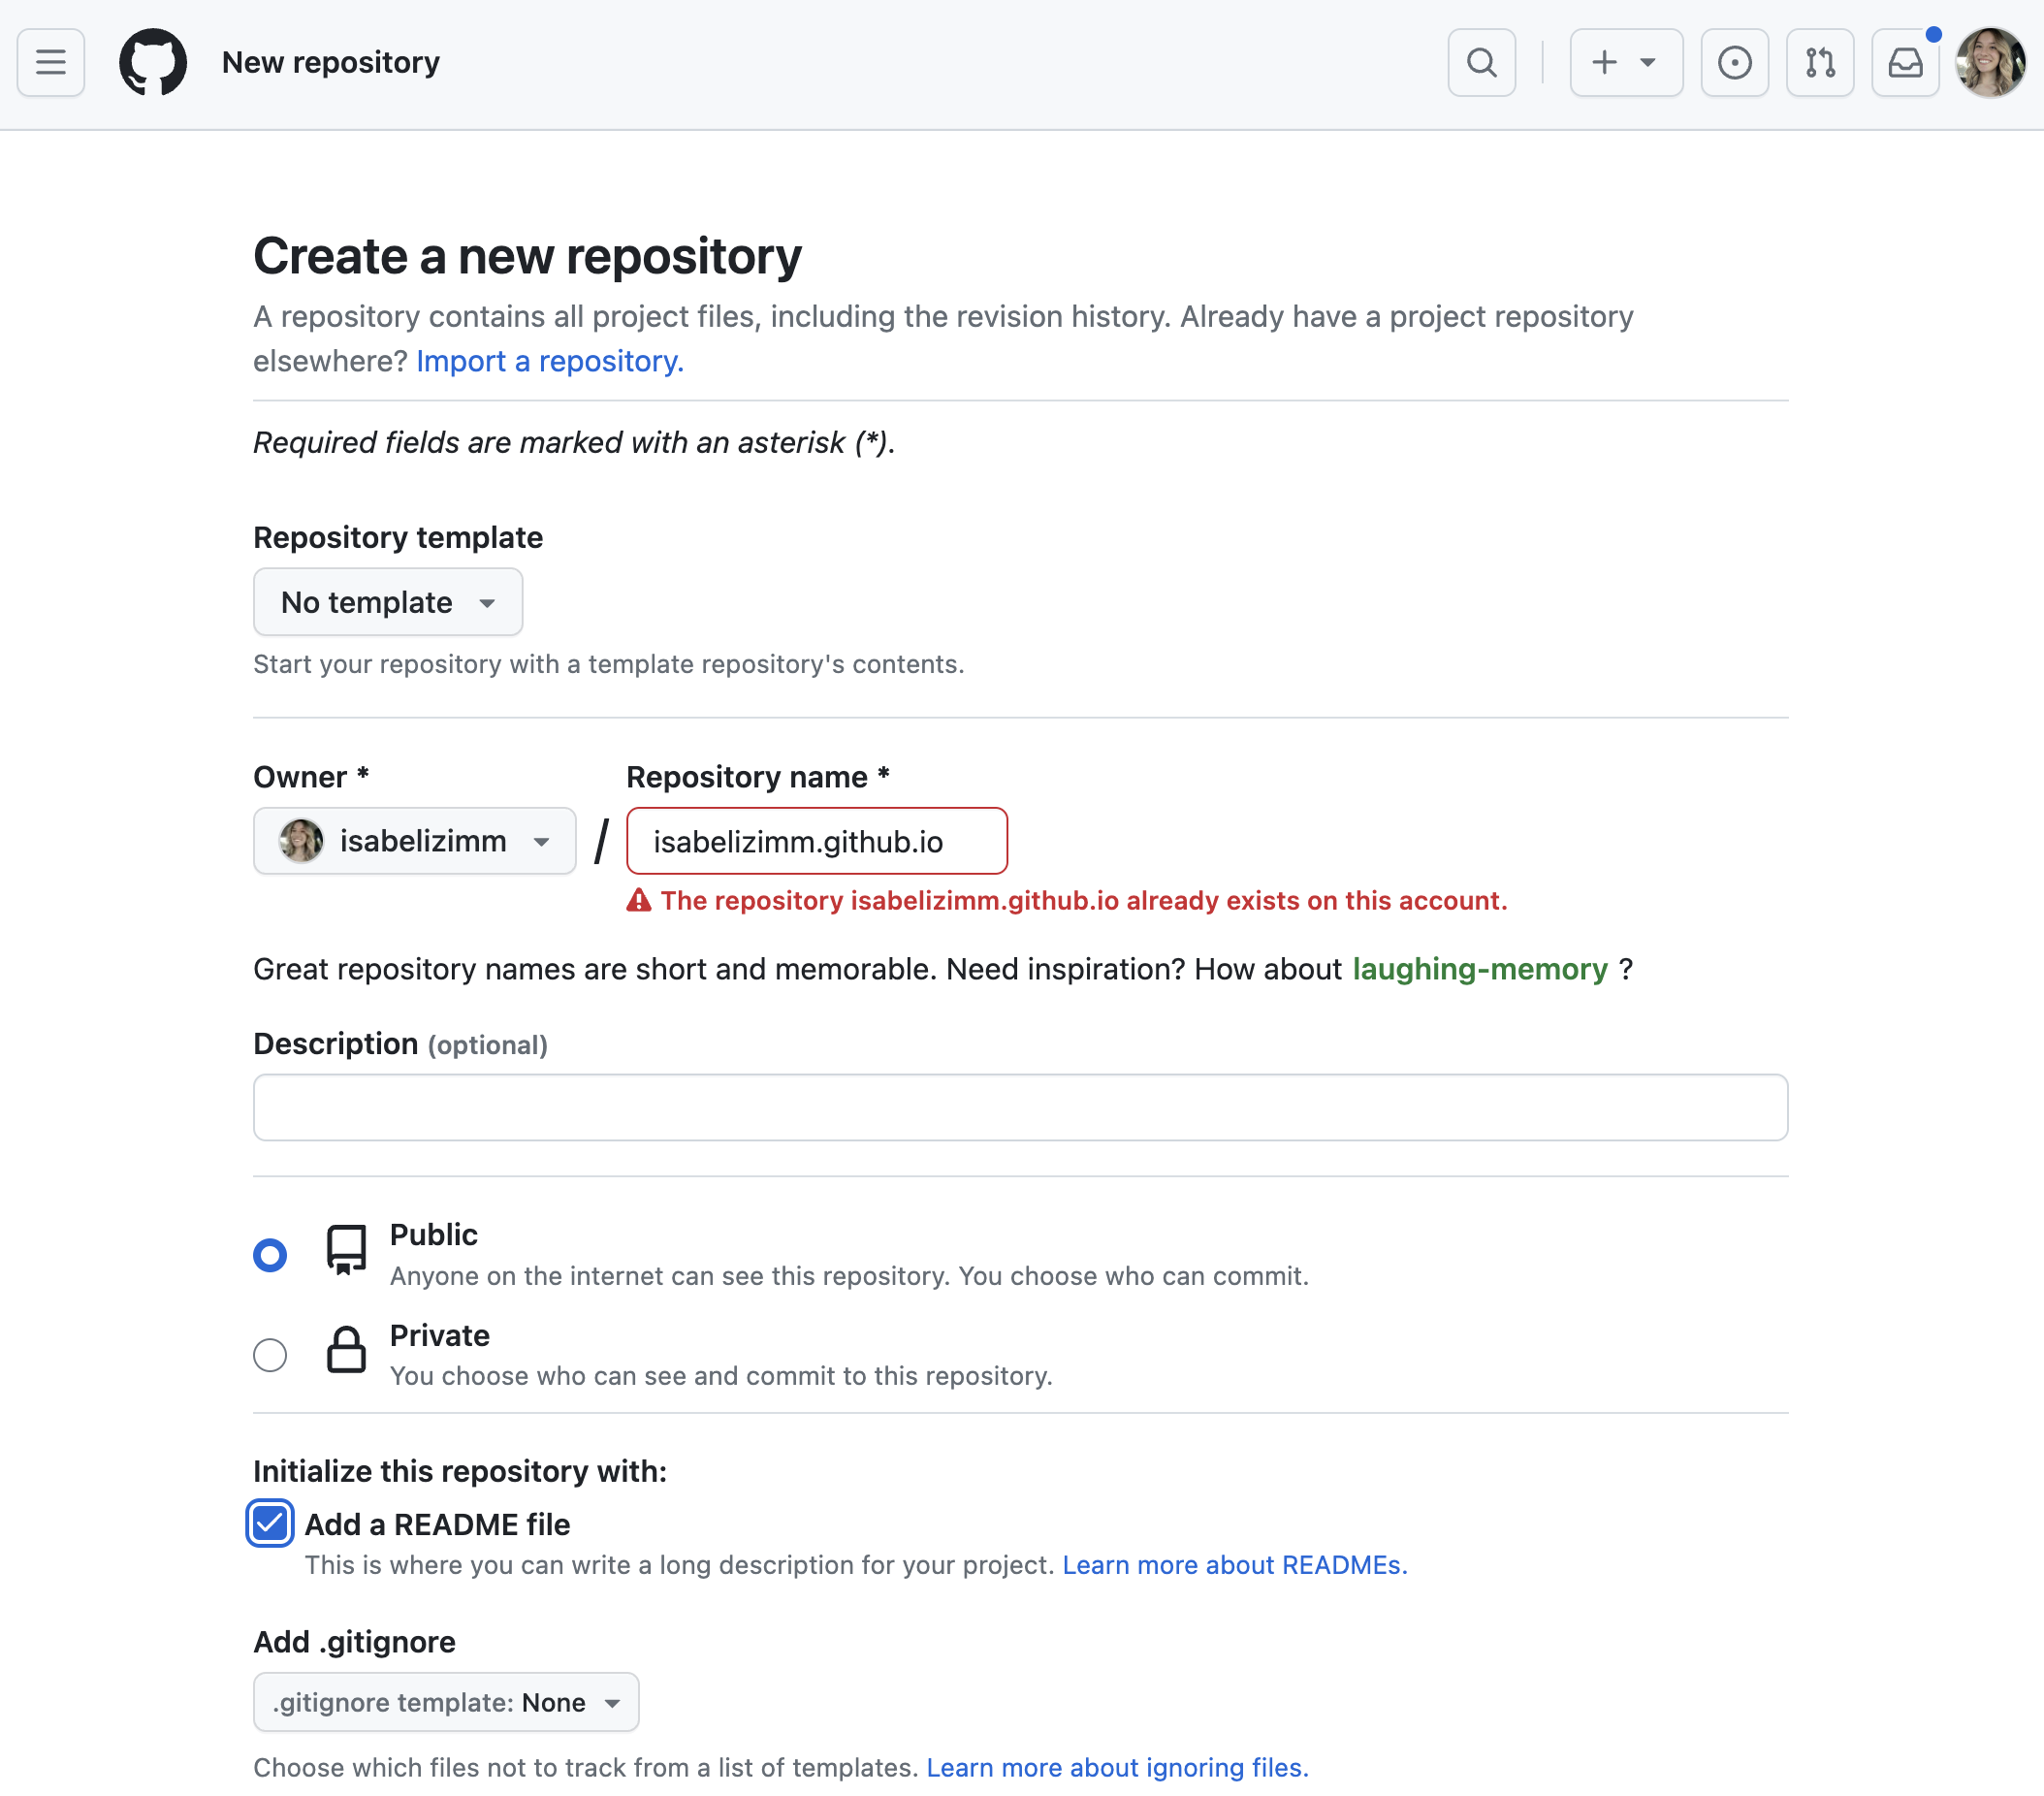
Create a new repository in GitHub and name it your-github-username.github.io. This is a secret repository structure in GitHub to host a blog for your account! Next, open up the terminal and use the cd command to navigate to the folder you would like to store your blog in. Use the command git clone {repository-url} to copy the repository onto your computer, and cd your-github-username.github.io into your local version.
Step 2: Create blog
In the folder for your repository, type quarto create project blog . into your CLI tool and press enter. Congratulations, you have built a blog! Use quarto preview to build and view it locally.
Step 3: Update the blog
There’s a few places you will want to update before you publish your blog for the world to see. First, open up the file called index.qmd and add some information about yourself. I have a few sentences of introduction, my education, and how to get in contact with me. Next, open up the folder called posts/ and update it to remove the default posts. If you’d like to write a blog post of your own, the easiest way to organize the posts is by making each one into its own folder. Then, each folder can contain a .qmd, .md, .Rmd, or .ipynb file as a post and any relevant images.
For simple aesthetics, you can go to the _quarto.yml file and try out different bootstrap themes, or add some color to your navbar by adding a background field to your navbar
website:
  title: "my blog"
  description: "my personal blog"
  navbar:
    background: "#ffccff" # accepts color names like red, blue, or hex codes
Step 4: Push to Github Pages
While still in the folder of your blog, run quarto publish gh-pages. You will be prompted with some text like: Publish site to your-github-username.github.io? Accept this, and let it run.
Step 5: Set the deployment branch to gh-pages
Back to GitHub, view your repository. Go to the settings for the repo, and click on Pages. Then, change the Build and deploy from source to the gh-pages branch.

If you go back to the main page of your repository, you will see a tab Deployments underneath the repository description. The green checkmark means your blog has been successfully deployed! The url will be something like your-github-username.github.io
Going forward, each time you want to update your website, you can reuse the quarto publish gh-pages command.